
Pixie Cut by MOSER - Step-by-Step
About the Pixie Cut

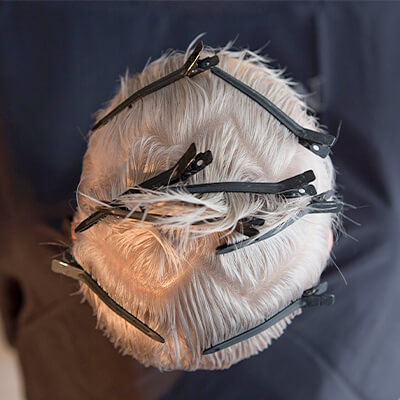
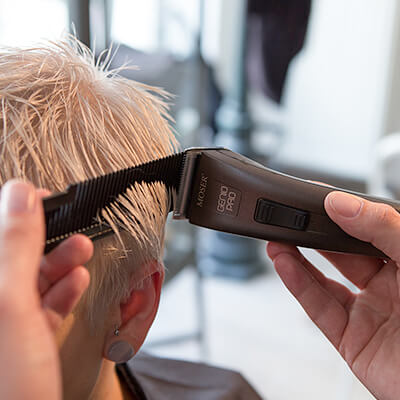
A classic, yet a true fashion statement at the same time, because it lends the wearer the ultimate attitude: The pixie cut! On the one hand, it’s the most variable of short haircuts; on the other, it needs to be touched up regularly at frequent intervals in order to stay looking elegant and maintained. In spite of its severe lines, this cut can look very feminine, even elfin. Celebrities such as Michelle Williams and Katy Perry discovered this look for themselves long ago, and it has set them apart on the red carpet.
Credits:
• Hair: Chris Mattick
• Photo: Philipp Röger
Devices:
• Genio Pro
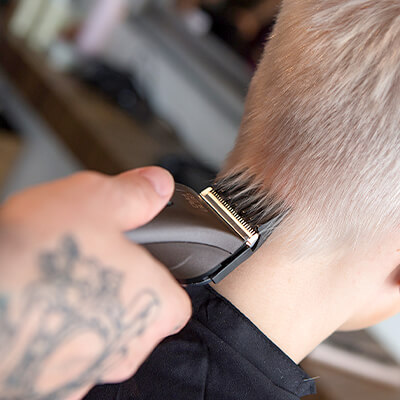
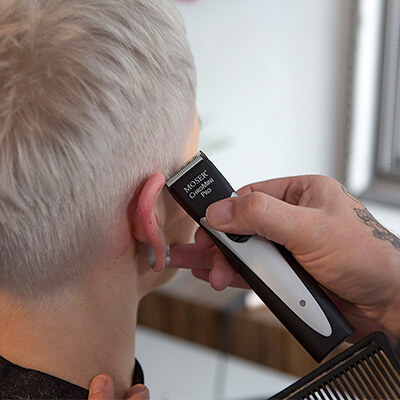
• ChroMini Pro
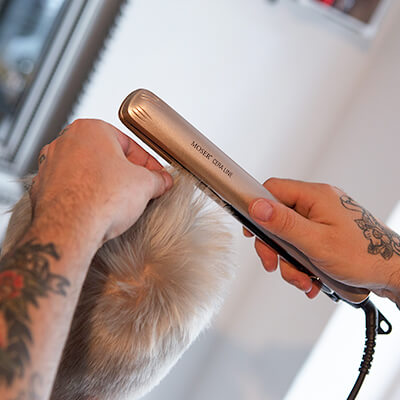
• Ceraline
Credits:
• Hair: Chris Mattick
• Photo: Philipp Röger
Devices:
• Genio Pro
• ChroMini Pro
• Ceraline

Pixie Cut