Lemon Mullet by MOSER
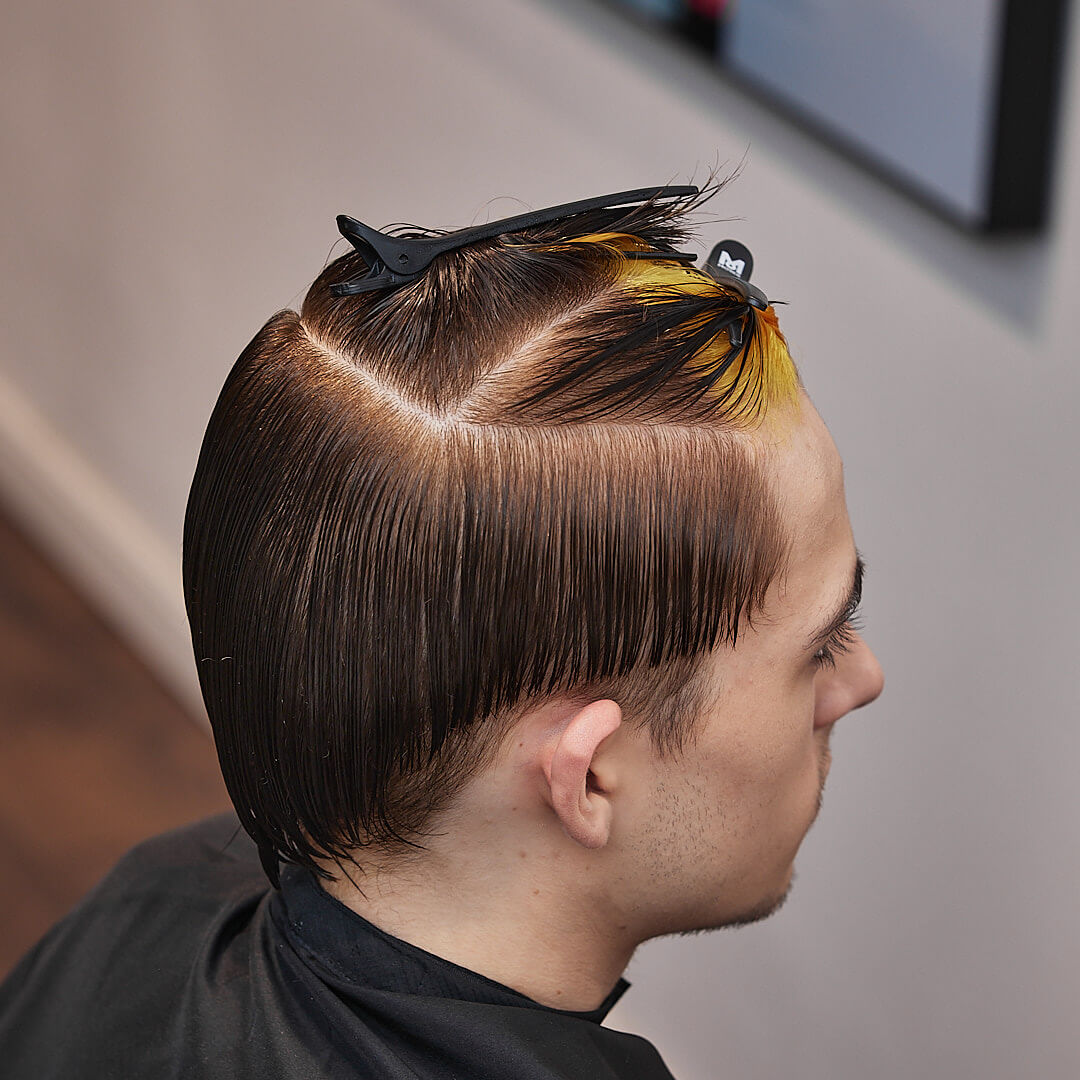
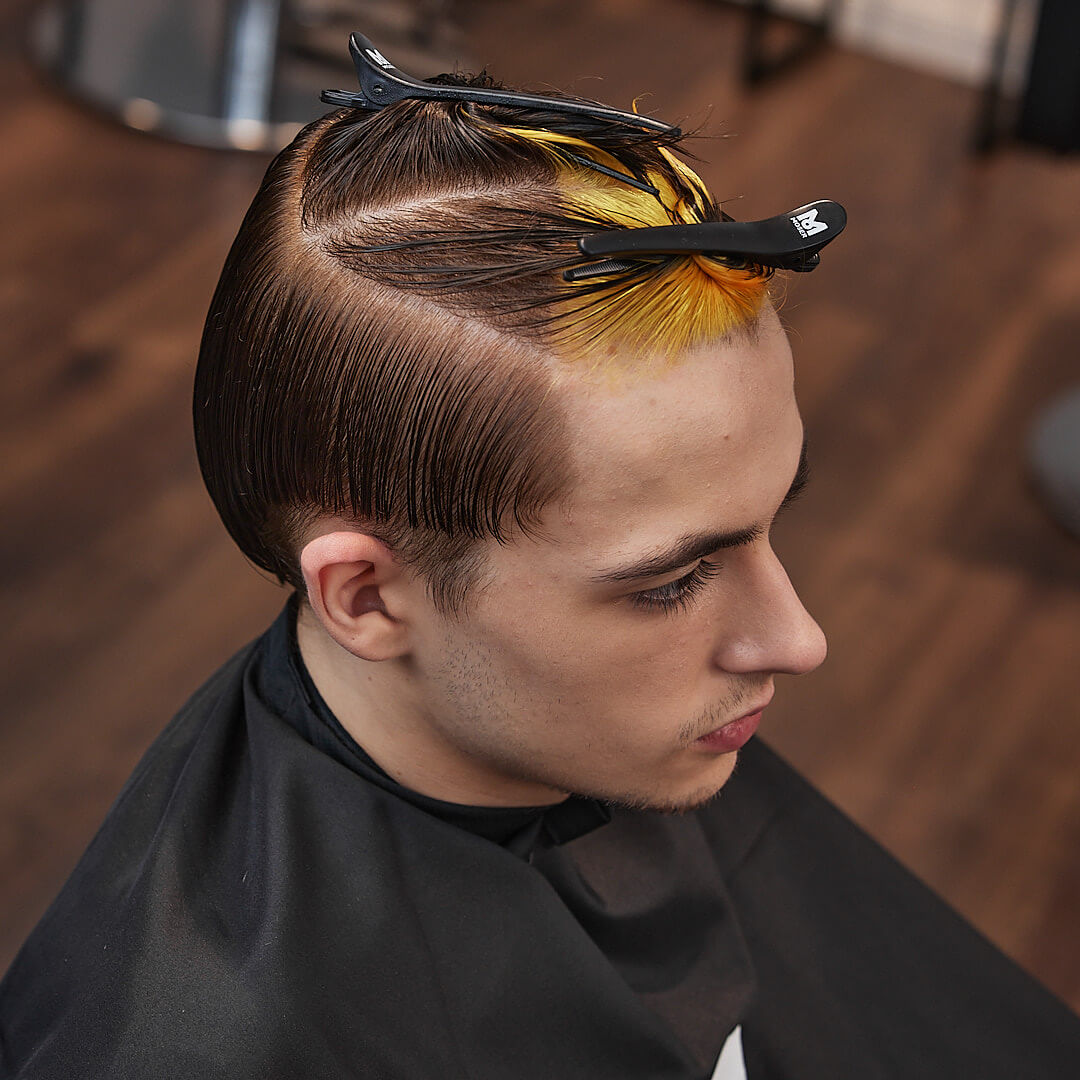
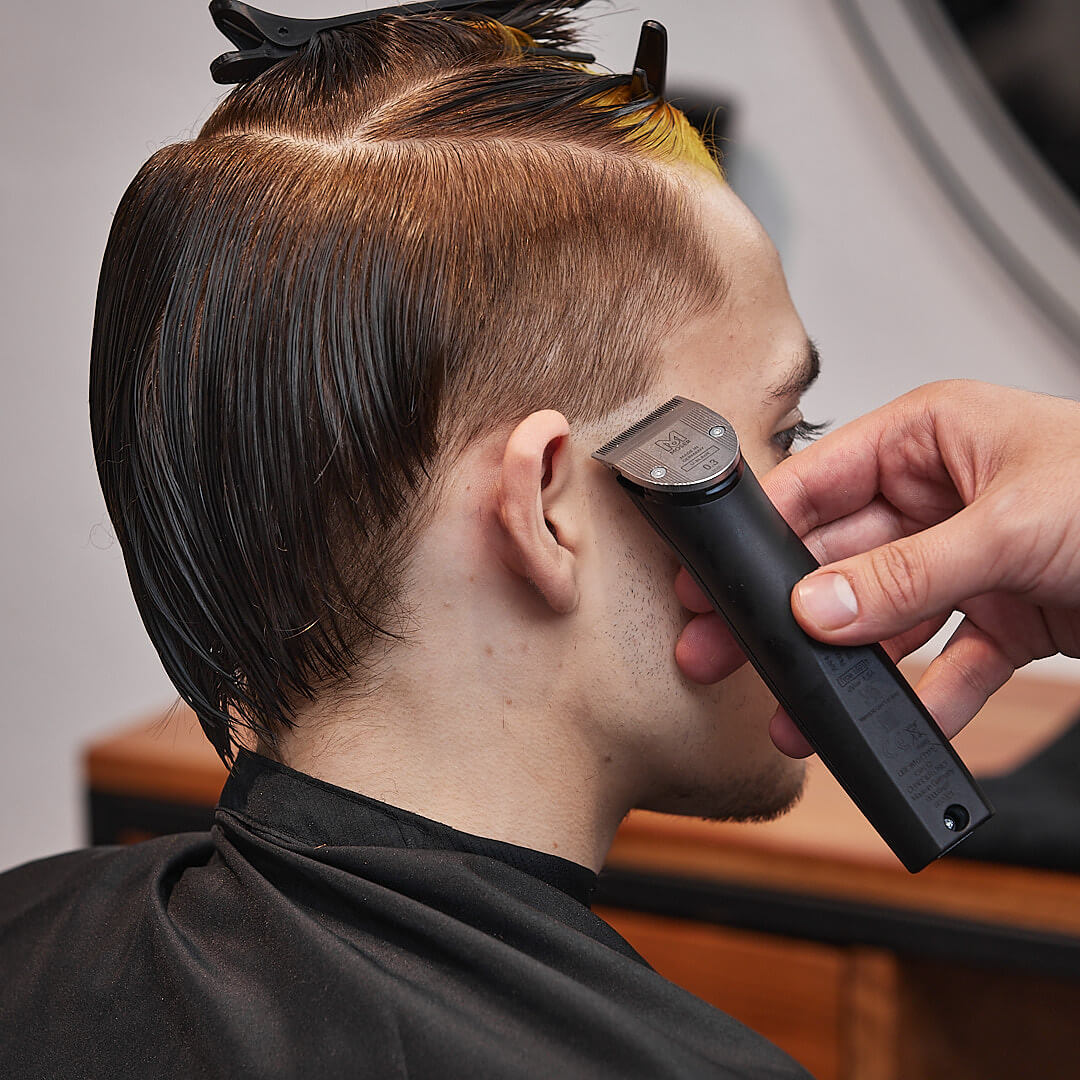
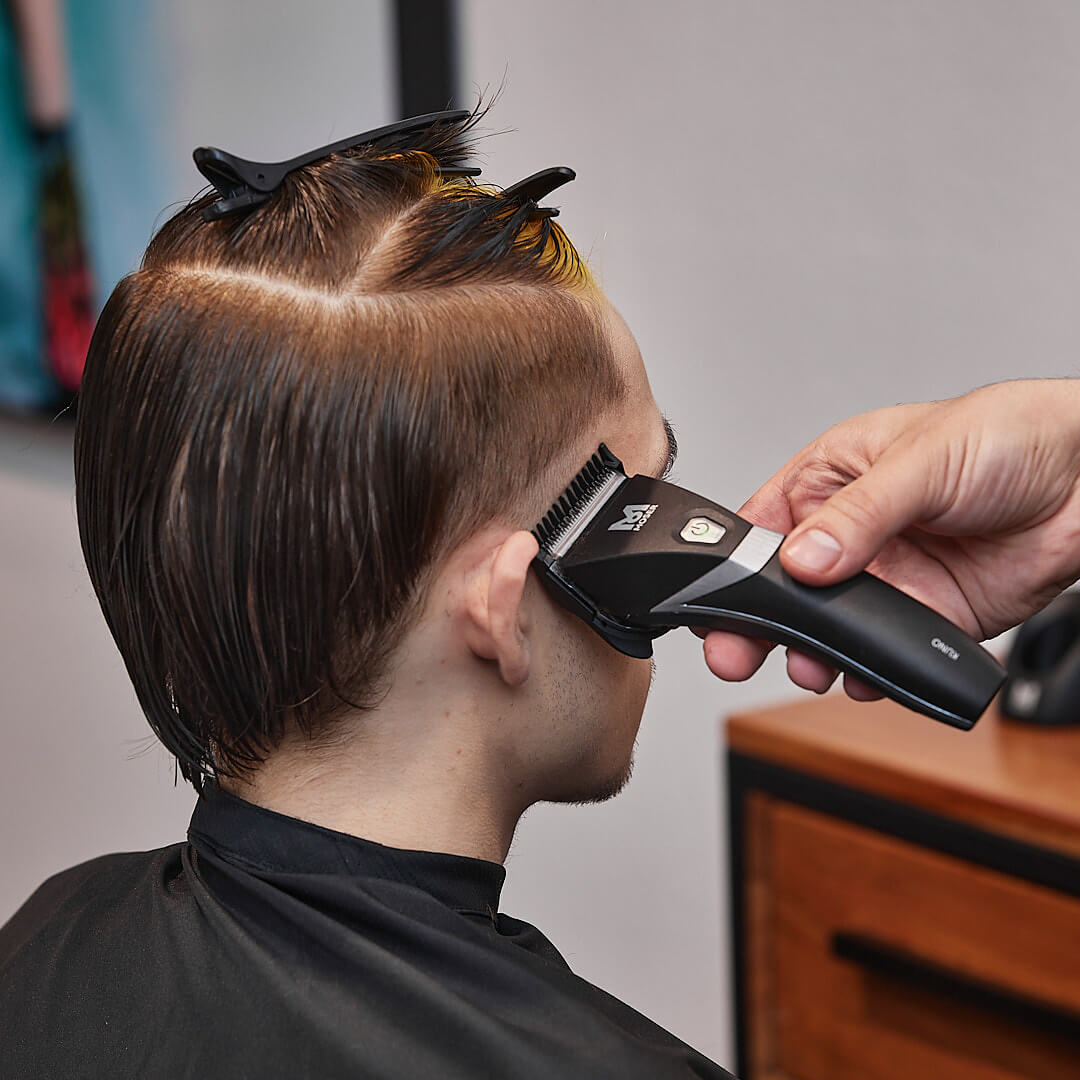
Step-by-step for the Lemon Mullet

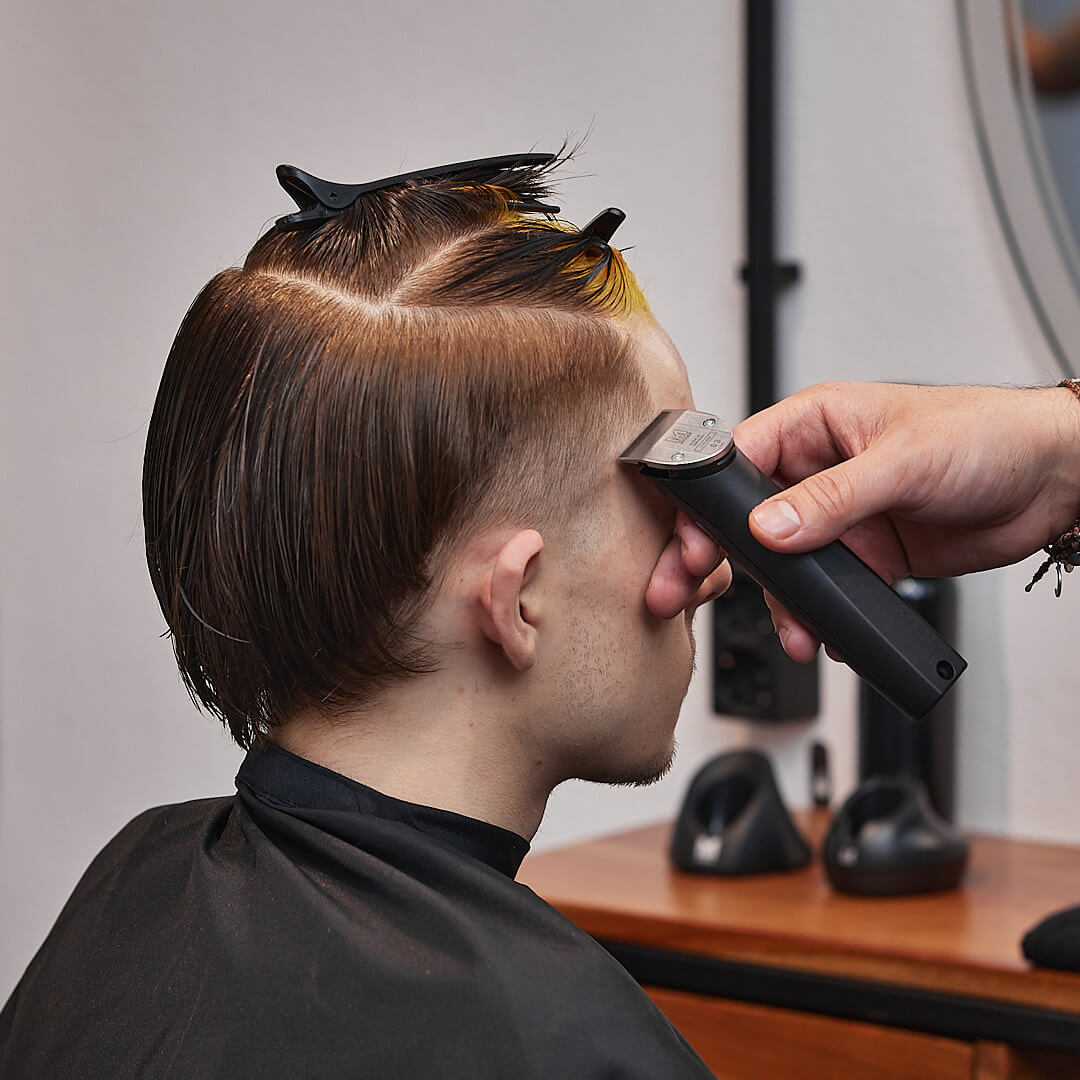
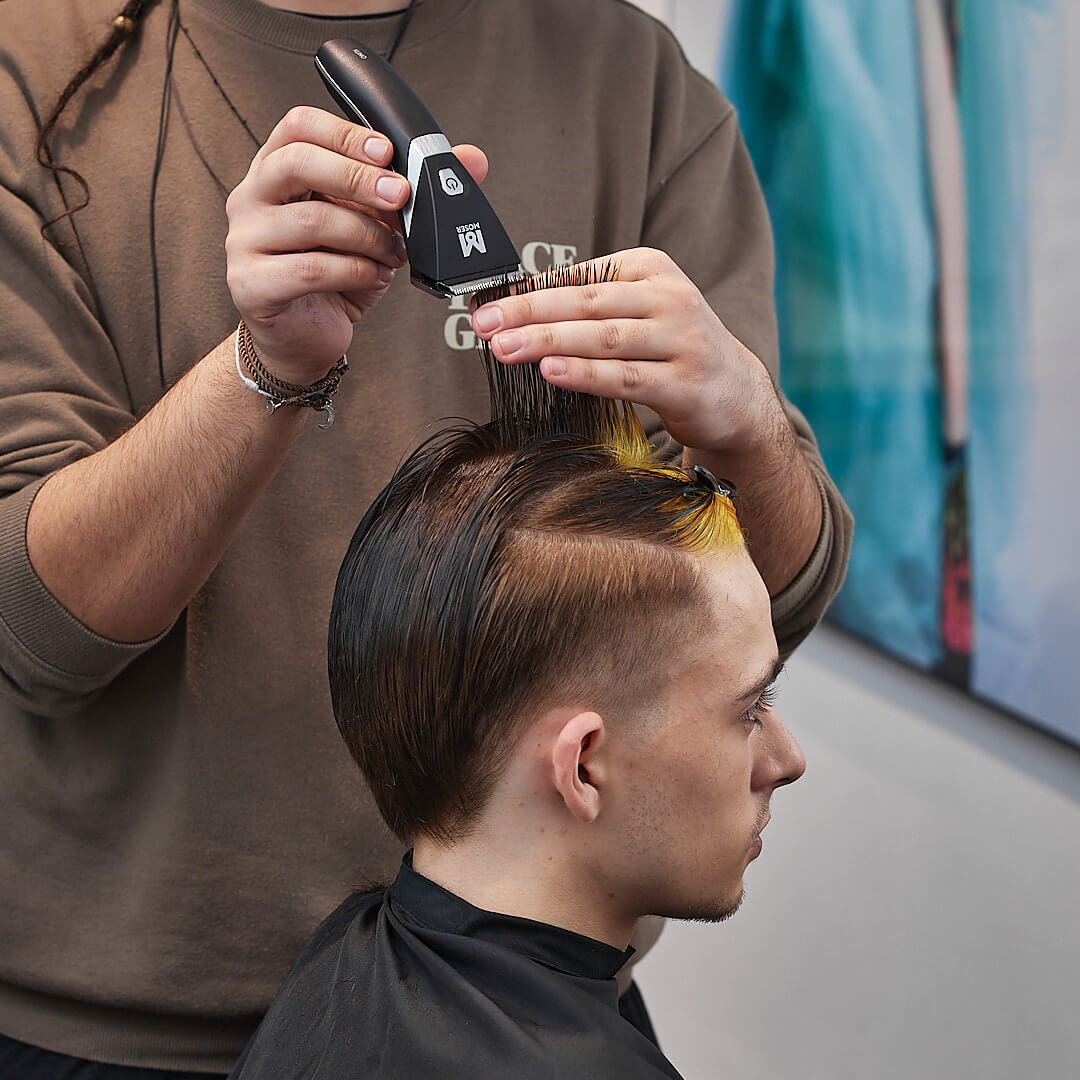
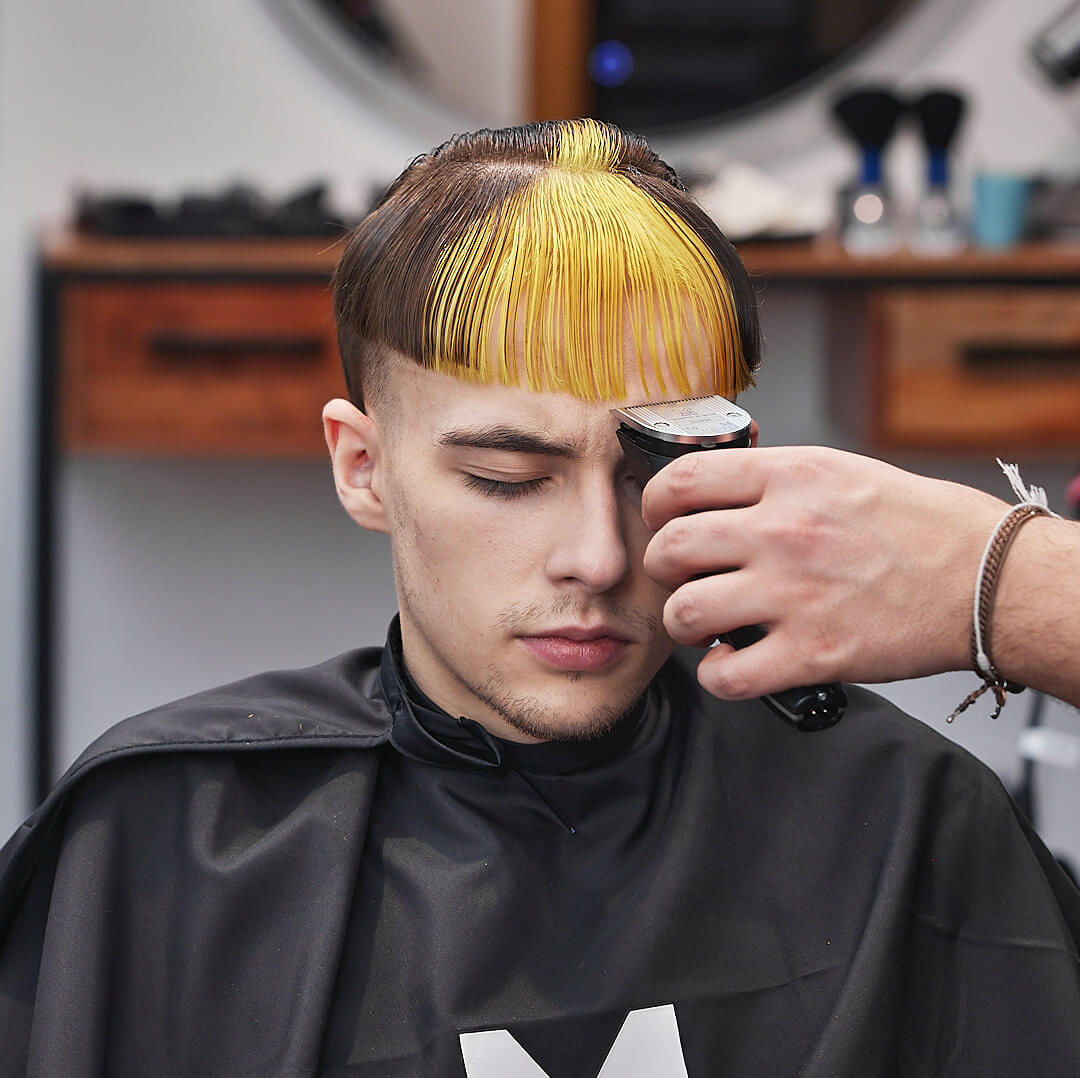
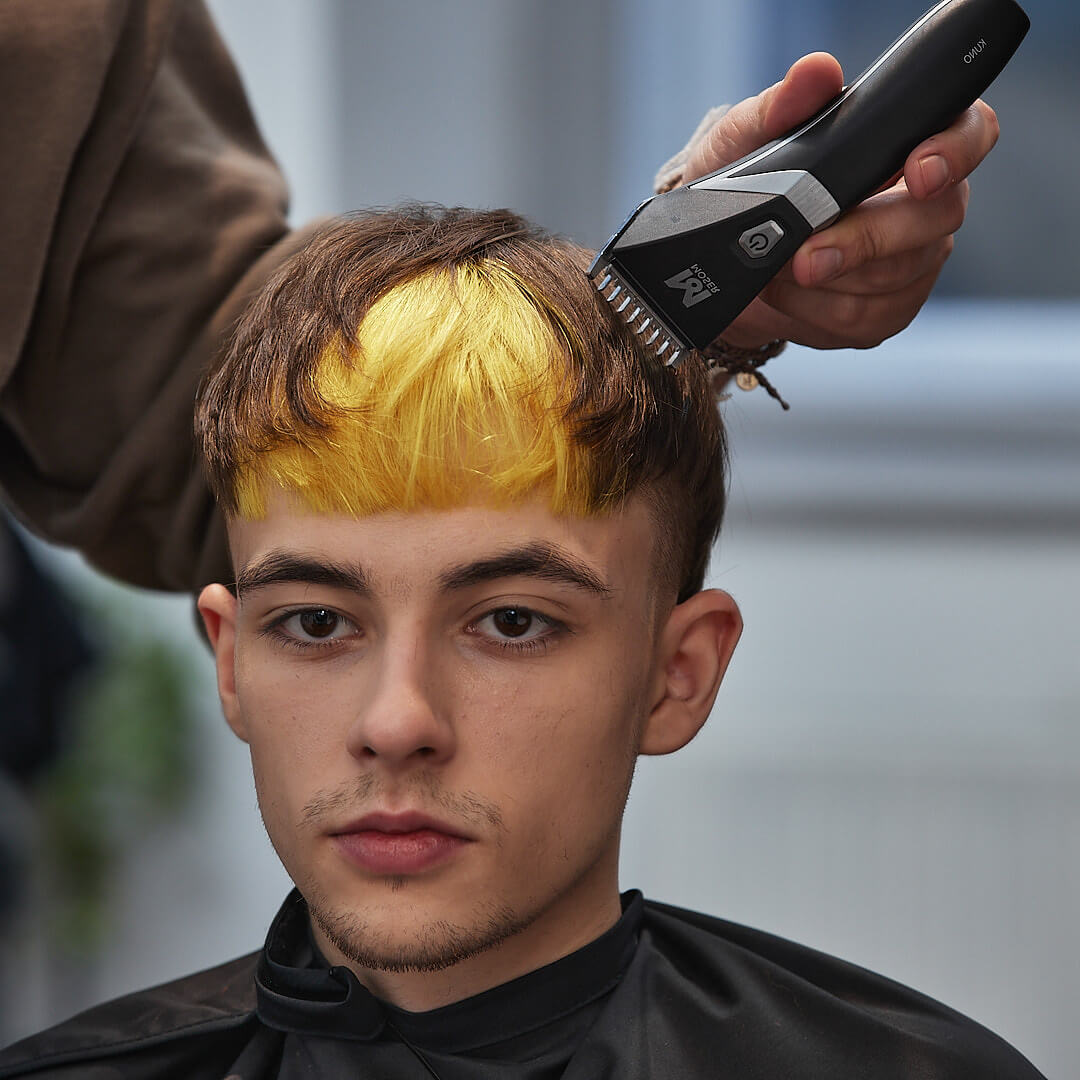
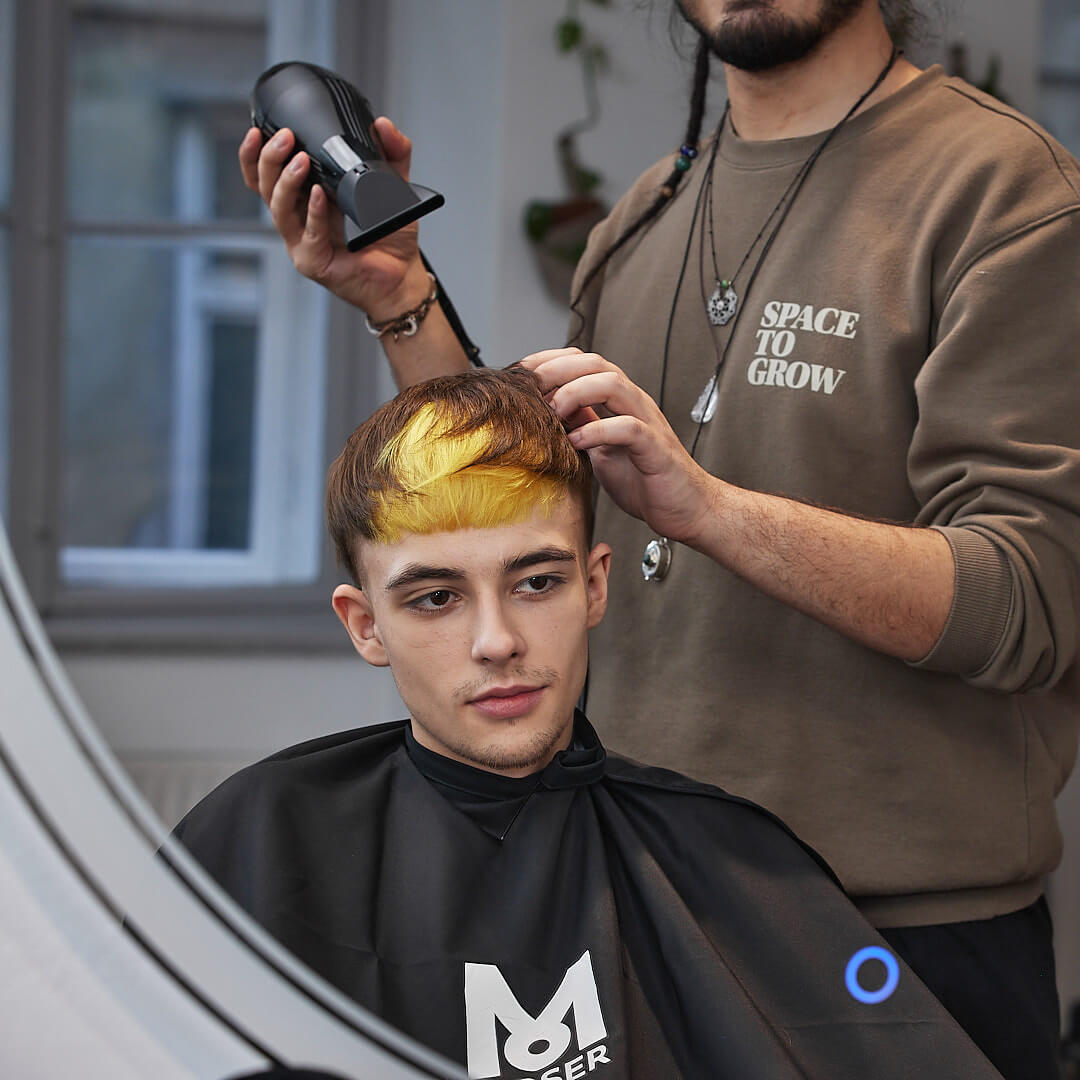
Having taken note of the mullet’s recent renaissance in the world of fashion, MOSER decided to select the Lemon Mullet as the first style to be taken from their “Rough” collection. Influencers and trendsetters are particularly fond of the look as it allows a wide range of creative colouring and styling possibilities and makes for a stylish accompaniment to various cool outfits. The modern mullet style has its roots in the punk era of the 1970s. It is now considered a statement of individualism and boosts each personal style with exciting new touches. The Lemon Mullet achieves this with striking colour accents at the front of the head, as well as brand new cutting and styling techniques. Therefore, the hair at the top of the head is kept slightly longer and has a fairly dull appearance. In sharp contrast, the neck sections stand out with wildly diverse lengths and accents. By adding these features, the creative team has delivered a thoroughly original take on the mullet style that showcases a progressive flair with extremely short-shaven and high-contrast side areas. The extra features provide the overall look with an even greater dose of attitude.
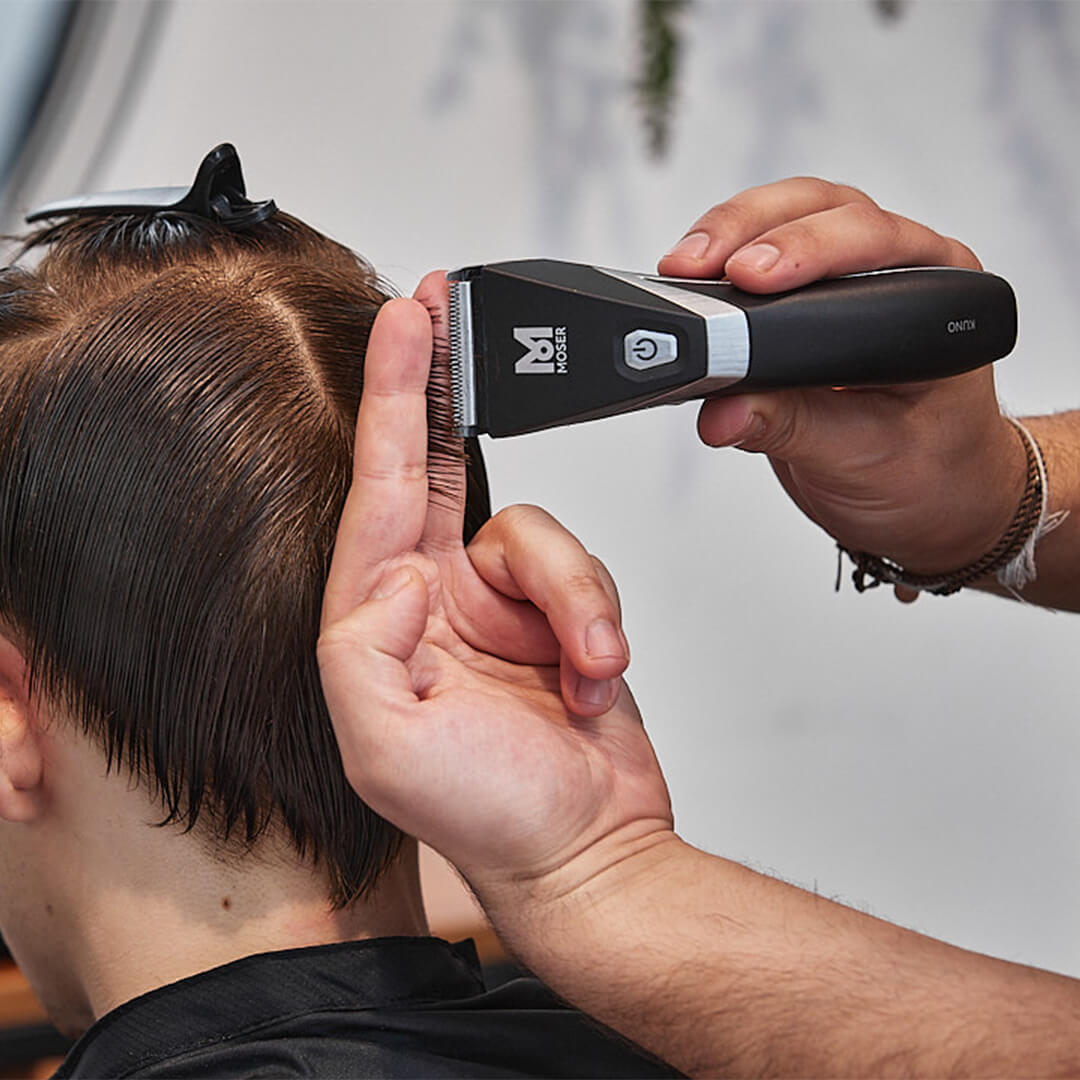
The latest high-performance MOSER appliance was used to create the Lemon Mullet: KUNO. The professional tool meets the highest standards required for innovative cutting techniques and provides perfect cutting results and outstanding effects when combined with the MAGIC, BLENDING and TEXTURIZING blades. The clear contours and outstanding details were created using the professional CHROMINI PRO2 ultra-close trimmer.
Credits:
Hair: Enes Dogan, MOSER Artistic Team @enesdogan_de
Danny van Tuijl @hairbydvt | @gingerlemonhair
Photos: MOSER / Philipp Jelenska @philippjelenska
Styling & colour: Lizzy Lemon @colourlemon | @gingerlemonhair
Make-up:Nadja Hluchovksy @makeup_by_nadjah
Collection: MOSER Rough
Tools:
• MOSER CHROMINI PRO 2
• MOSER KUNO
• MOSER VENTUS PRO
Lemon Mullet Gallery